WP Core Web Vitals :: Download & Installation
Take back control of your website's speed with WP Core Web Vitals

WP Core Web Vitals Download & Installation
Please take some time to properly configure WP core Web Vitals! Each site is different and requires a slightly different configuration for optimal results! Click-and-go might seem appealing but remember that the site is probably someone's business. Give any site the attention it deserves!!
Table of Contents!
Step 1: Download WP Core Web Vitals
This is the easy part. Just click here and download WP Core Web Vitals. After you click this link WP Core Web Vitals will start download. Save the ZIP file anywhere on your harddrive. You will need it in a minute!
Step 2: Install WP Core Web Vitals
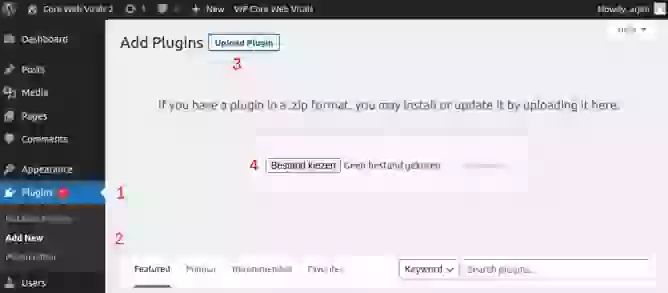
Navigate to the admin section of your site . Click on Plugins (1) -> add new (2) -> upload plugin (3). Select the zip file (4) that you have just downloaded and click install. Once the plugin has been installed click activate. Wp Core Web Vitals is now installed. Click on WP Core Web Vitals on the topbar and then click settings to start configuring it!
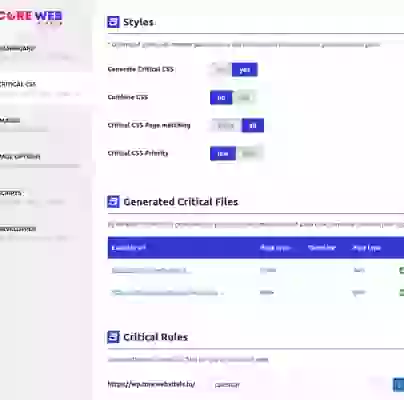
Step 3: Configure WP Core Web Vitals

